
Note: This workshop is currently full, but you can join the waiting list by emailing me (contact@anasoloart.com). If a spot opens up, I will notify you ASAP!
Saturday, 5th April – Limited spaces, book now!
Place: Zappekin , 3 Wood Loop, Mariri, Motueka 7175
Time: 9.30am to 1.30pm
Level: Beginner-friendly
—
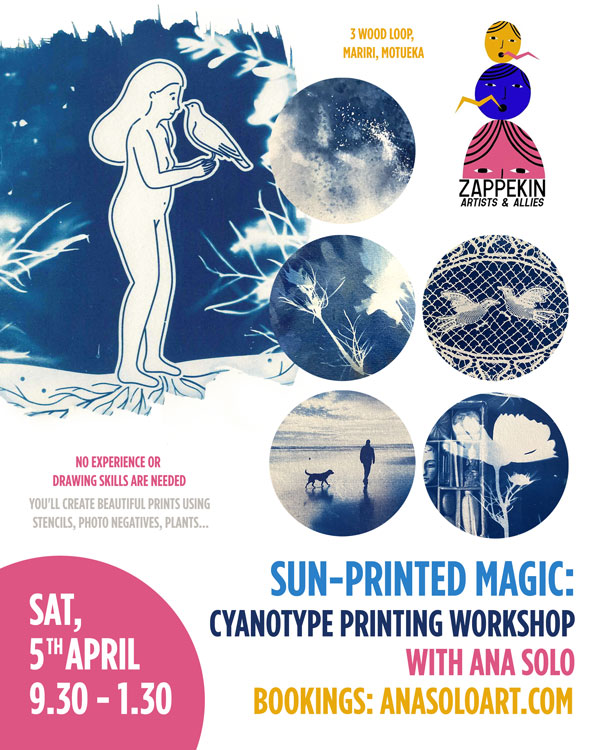
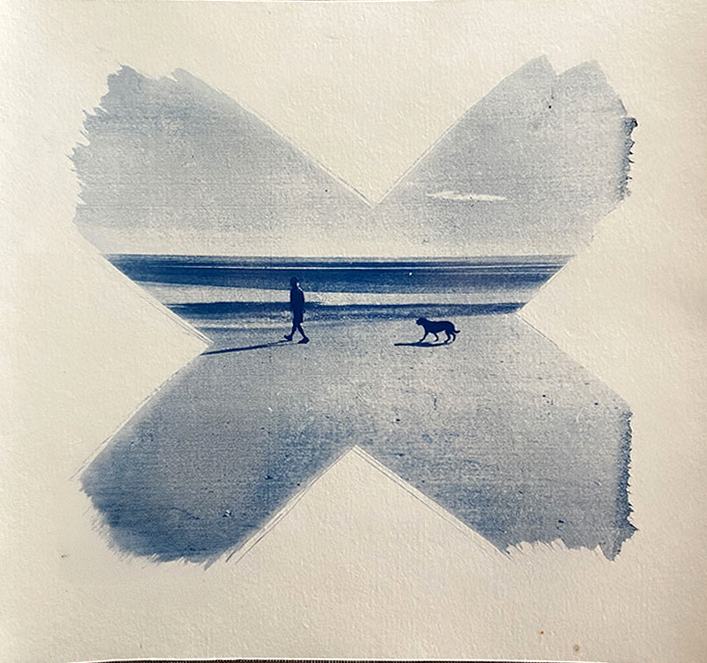
In this workshop, you’ll immerse yourself in the world of cyanotypes, one of the oldest and most beautiful photographic printing techniques. Known for their vibrant blue color, cyanotypes have a rich history dating back to the 19th century.
Also called sun prints, cyanotype printing is a fascinating process that uses a light-sensitive solution that reacts to UV light.
Whether you’re just starting out or you’re an experienced artist looking to try something new, this hands-on workshop is a fun and exciting way to create beautiful art.
Everything you create in the workshop is yours to keep, and yes, cyanotype prints are permanent, although they can fade a bit in strong light.
I’ll provide all the necessary materials, and no prior experience is required, just bring your curiosity and creativity! If you’d like to personalize your art, feel free to bring some of the objects listed below.
—
Objects you can bring
Bringing your own personal objects, plants or photographs will make the experience more special, but no worries if you don’t, I’ll have plenty of spares for you to use!
- Found objects: Leaves, flowers, lace, or anything with interesting shapes or textures to create your own unique prints.
- Photographs or negatives: Printed photographs on acetate or film (for those interested in experimenting with photographic negatives). If you’d like me to prepare them for you, please send your photograph at least a couple of days before the workshop. Email it to contact@anasoloart.com.
I will also have some of my illustrations printed on acetate and you’ll be welcome to use them. - Personal stencils: If you want to create detailed patterns or designs, bring your own stencils or sketches.
- Creative ideas: Feel free to bring anything that inspires you, whether it’s nature-based, graphic, or personal!Apron: To protect your clothes from any accidental splashes.
Gloves: To protect your hands (I will have spare ones).
Note: All materials for the cyanotype process will be provided, so there’s no need to bring any special equipment or paper.
—
Workshop Schedule & Breakdown
Welcome & Introduction
- Brief history of cyanotype
- How it works
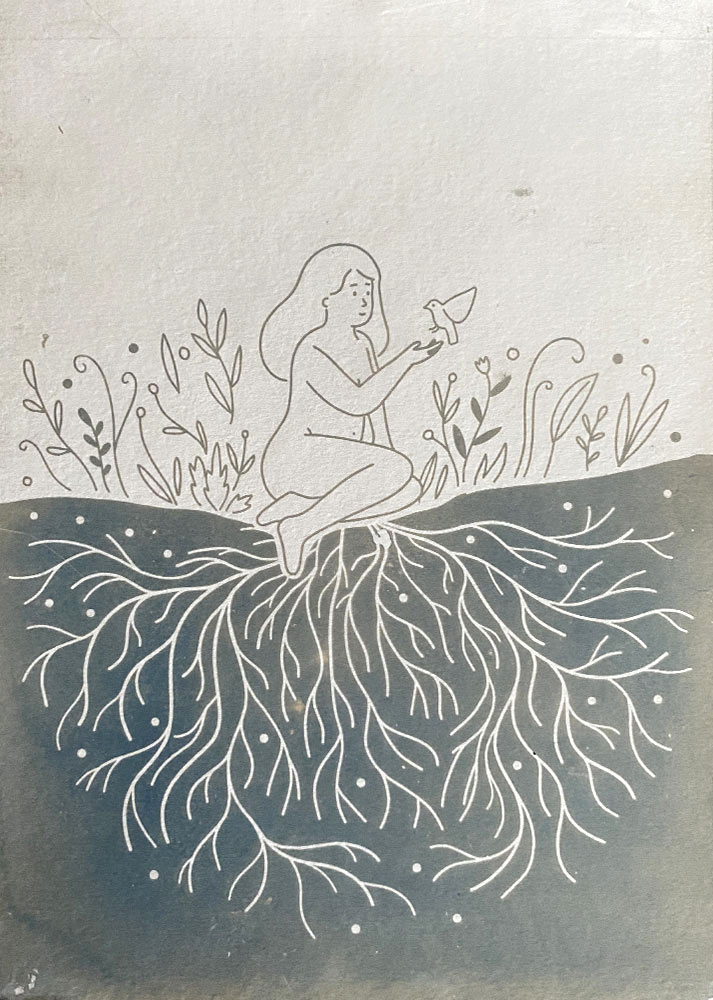
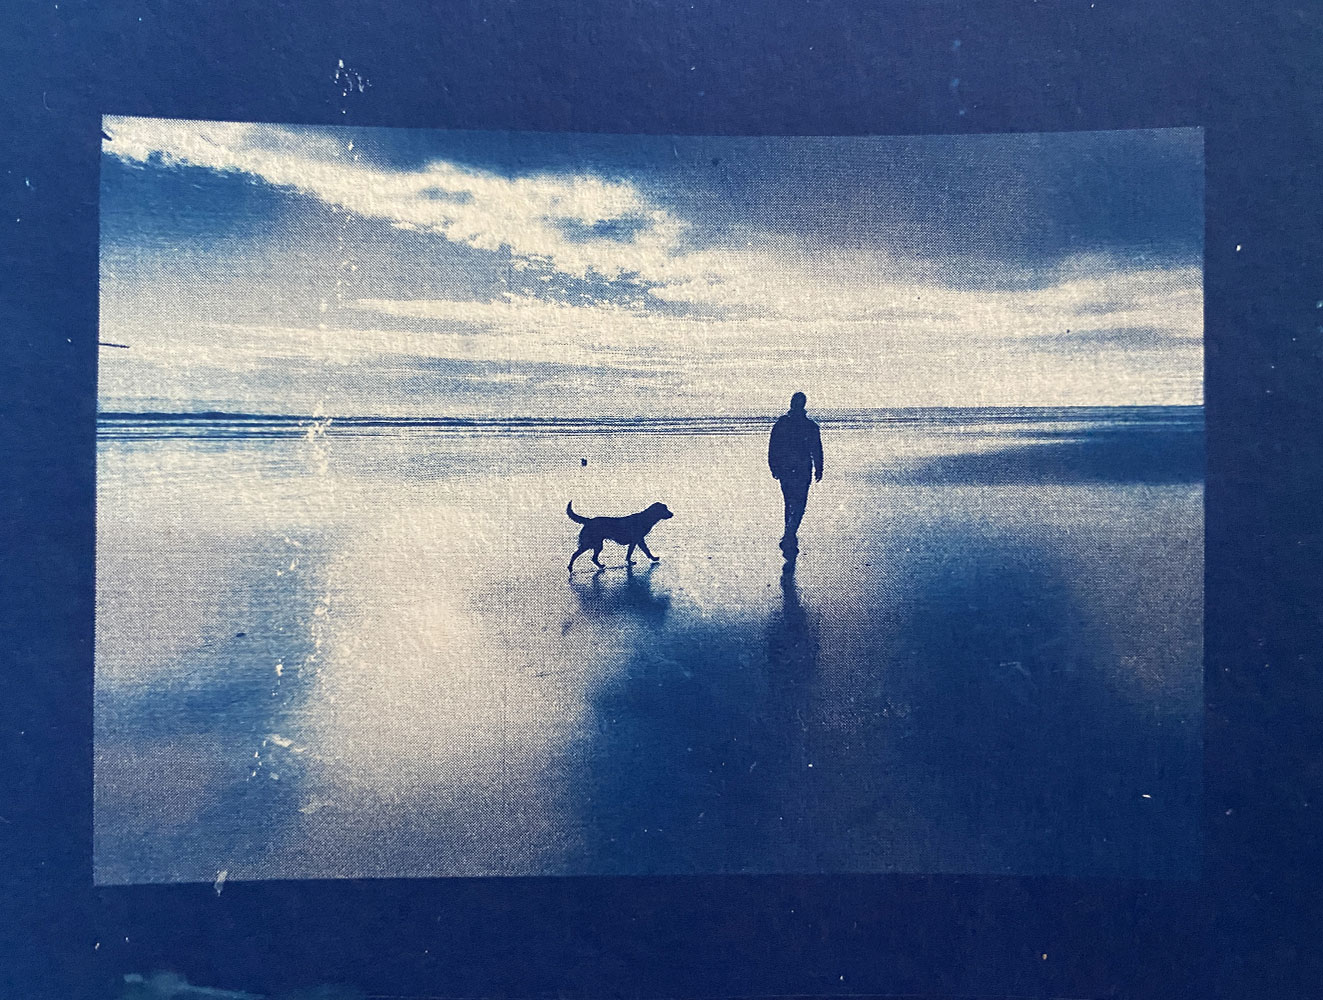
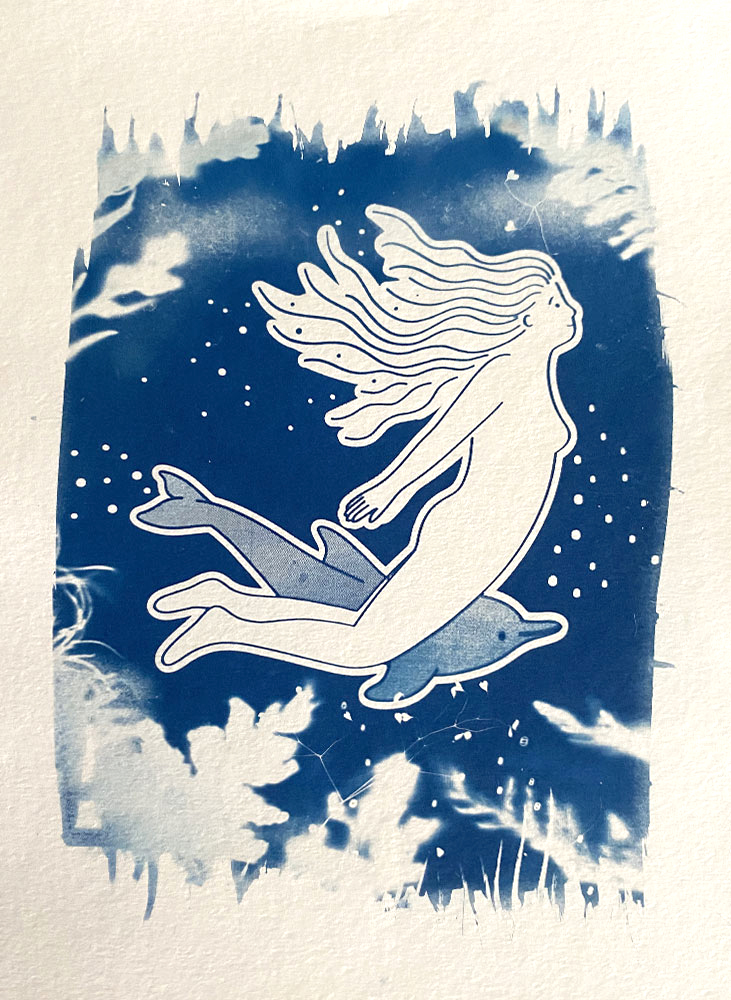
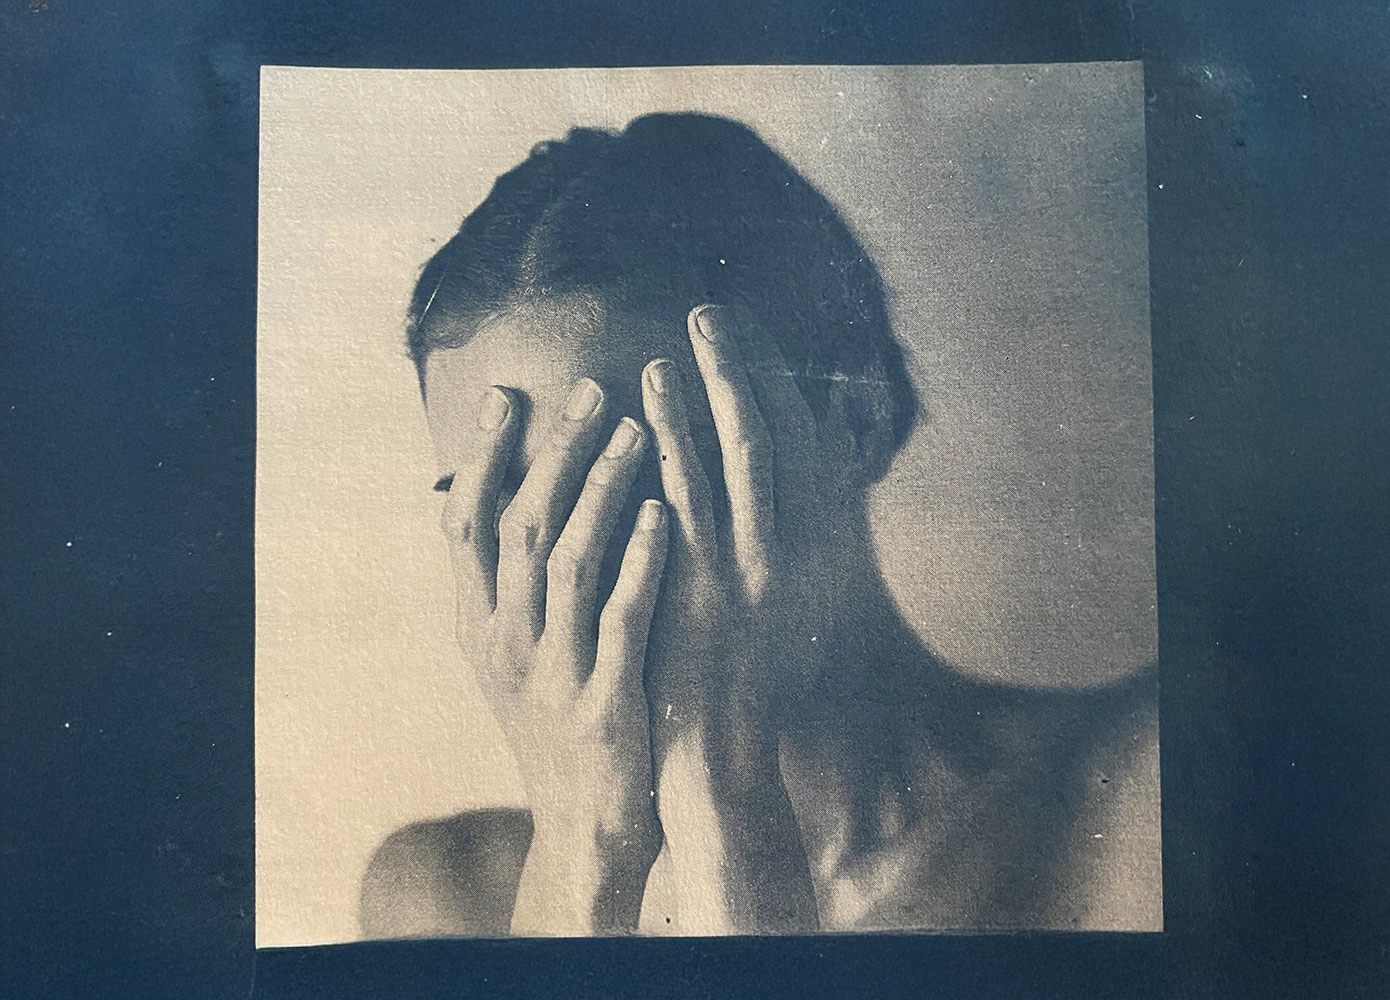
- Show examples of cyanotypes
- Safety guidelines
–
Testing Sunlight Strength & Paper Quality
Before participants coat their own paper, they’ll test how current sunlight and materials affect cyanotype results.
Sunlight Strength Test
- Use pre-coated cyanotype test strips.
- Place small objects (leaf, coin, lace) on strips.
- Expose in direct sun, partial shade, and full shade while timing.
- Compare development at different amounts of time.
Discussion: Adjust exposure times based on the day’s UV intensity.
Paper Quality Test
- Give participants different paper types.
- Brush cyanotype solution onto each.
- Observe how evenly the solution spreads and how fast it absorbs.
Preparing the Paper & Composing the Print
- Coating the Paper
- Demonstration of how to mix and apply cyanotype solution evenly.
- Participants coat their papers and leave them to dry.
- Designing the Print
- Arrange objects like pressed plants, lace, or stencils on pre-coated paper while waiting.
- Introduce photographic negatives and how to prepare them for print.
Exposure & Development
- Placing & Exposing the Prints
- Arrange materials on dried, coated paper under a glass sheet or in a contact frame.
- Exposure times: Based on the sunlight test earlier.
- Developing the Cyanotype
- Wash in running water trays to remove unexposed chemicals.
- Drying the Prints
Creative Techniques & Experimentation
Experiment with various techniques.
Layering & Double Exposure
- Expose once, rearrange objects, expose again for layered effects.
Wet Cyanotype (for abstract textures)
- Mist or drizzle vinegar, lemon juice, soap bubbles, or hydrogen peroxide before exposure.
- Sprinkle turmeric, paprika, or salt for unexpected color shifts.
Toning Techniques (changing blue to brown, purple, or muted tones)
- Tea or Coffee – Warm brown/sepia tones.
- Wine or Red Cabbage Juice – Deep purples/blues.
- Baking Soda – Softens tones.
- Bleaching with Washing Soda – Lightens prints and adds contrast.
Hand-Coloring Cyanotypes
- Watercolors, pastels, or colored pencils to enhance prints.
Masking & Resist Techniques
- Use masking tape, wax crayons, or cut-out shapes before exposing.
Photographic Negatives & Text Integration
- Print photos or text onto acetate sheets for detailed images.
Sharing & Reflection
- Participants share their prints and discuss results.
Workshop Terms and Conditions
By booking a workshop, you agree to the following terms and conditions. Full payment is required to secure your spot. Cancellations made at least 7 days before the workshop date are eligible for a full refund. If you are unable to attend, you may transfer your booking to another person with prior notice. In the unlikely event that the workshop is canceled by the organizer, you will receive a full refund or the option to reschedule. Please arrive on time, as sessions will begin promptly. The organizer is not responsible for any personal belongings brought to the workshop.